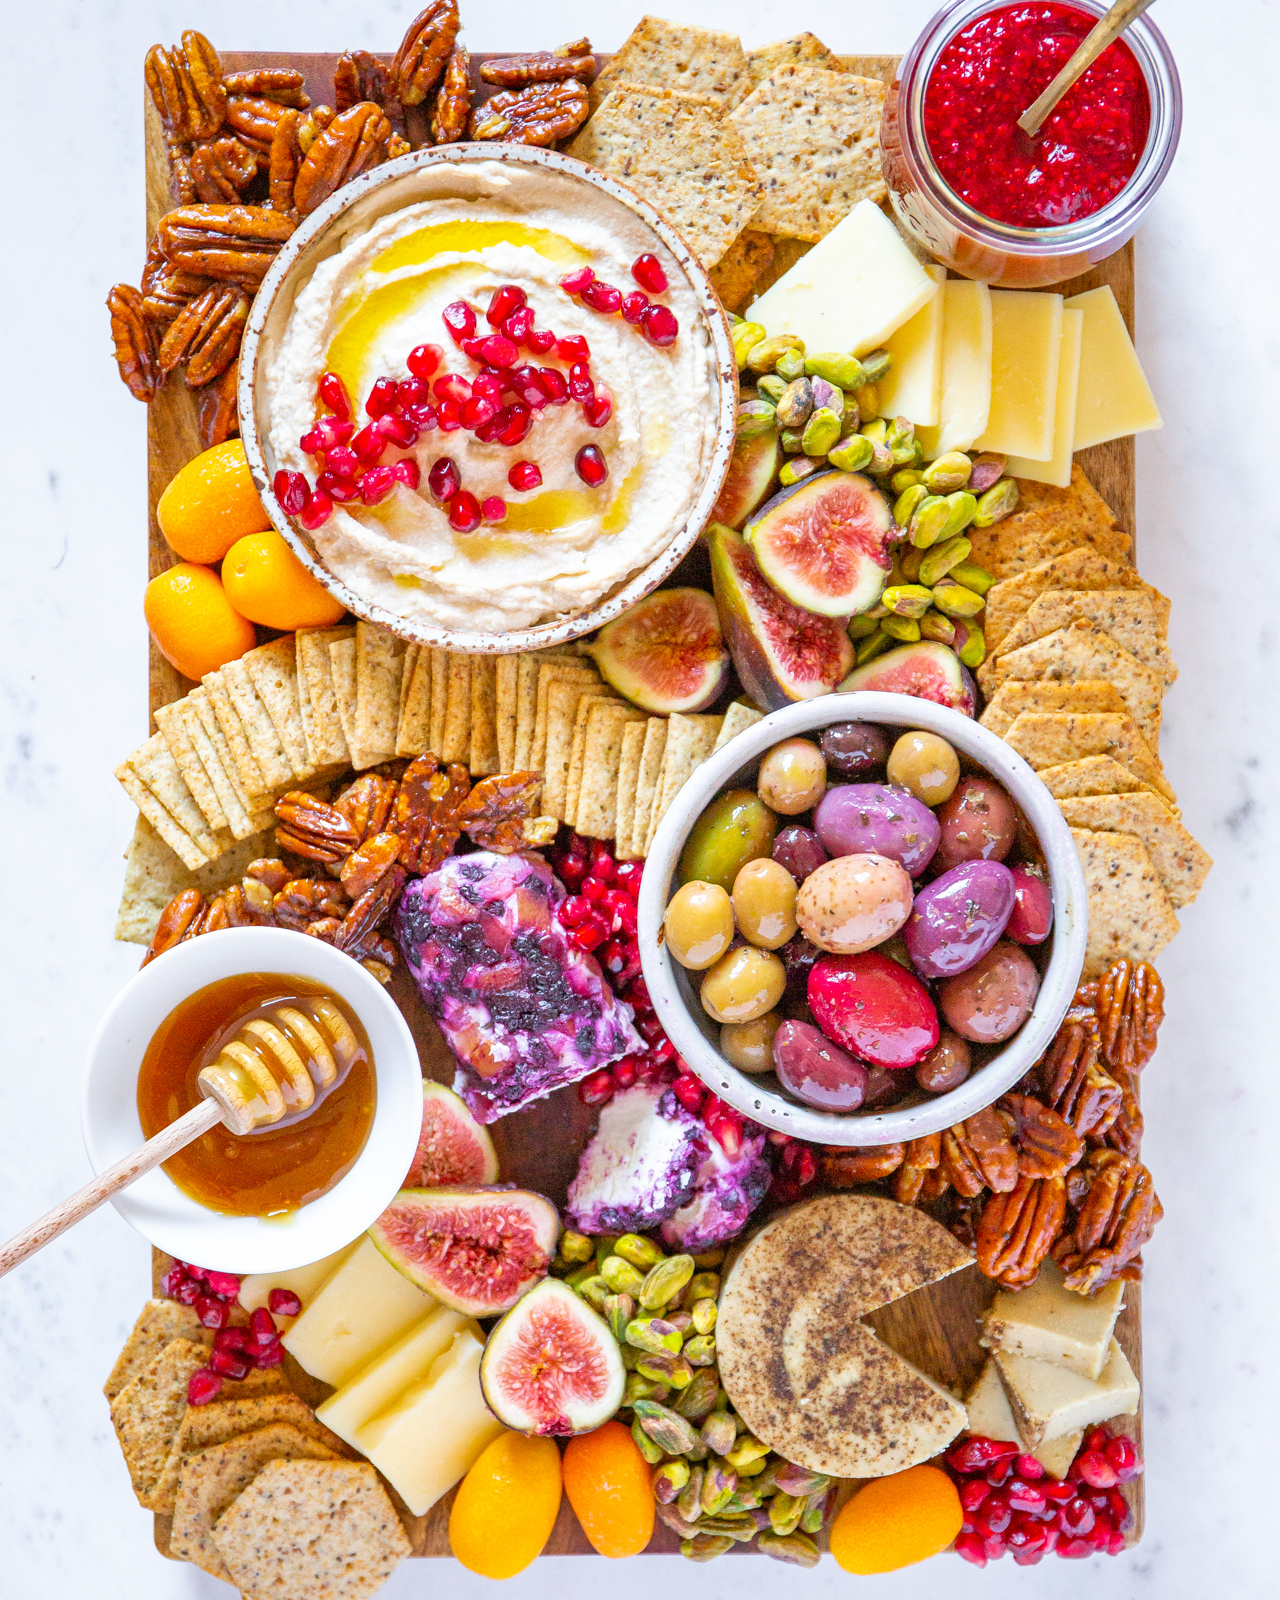
Cheese boards might be the ultimate party food. They’re undeniably aesthetically pleasing, and they offer a little something for everyone. At parties, people camp out around the cheeseboard like animals at a watering hole. And just like elephants and zebras, even if they don’t have anything else in common, the cheese board brings them together.
You could say, then, that cheese boards are the ultimate healthier together food—which meant I had to do my own take on one. Like all of my food, it needed to be healthy, but in a way that increased its deliciousness, rather than detracted from it. And, friend, I think I cracked it. Here are all of the cheese board secrets, including my top tip to making it look Insta-worthy.
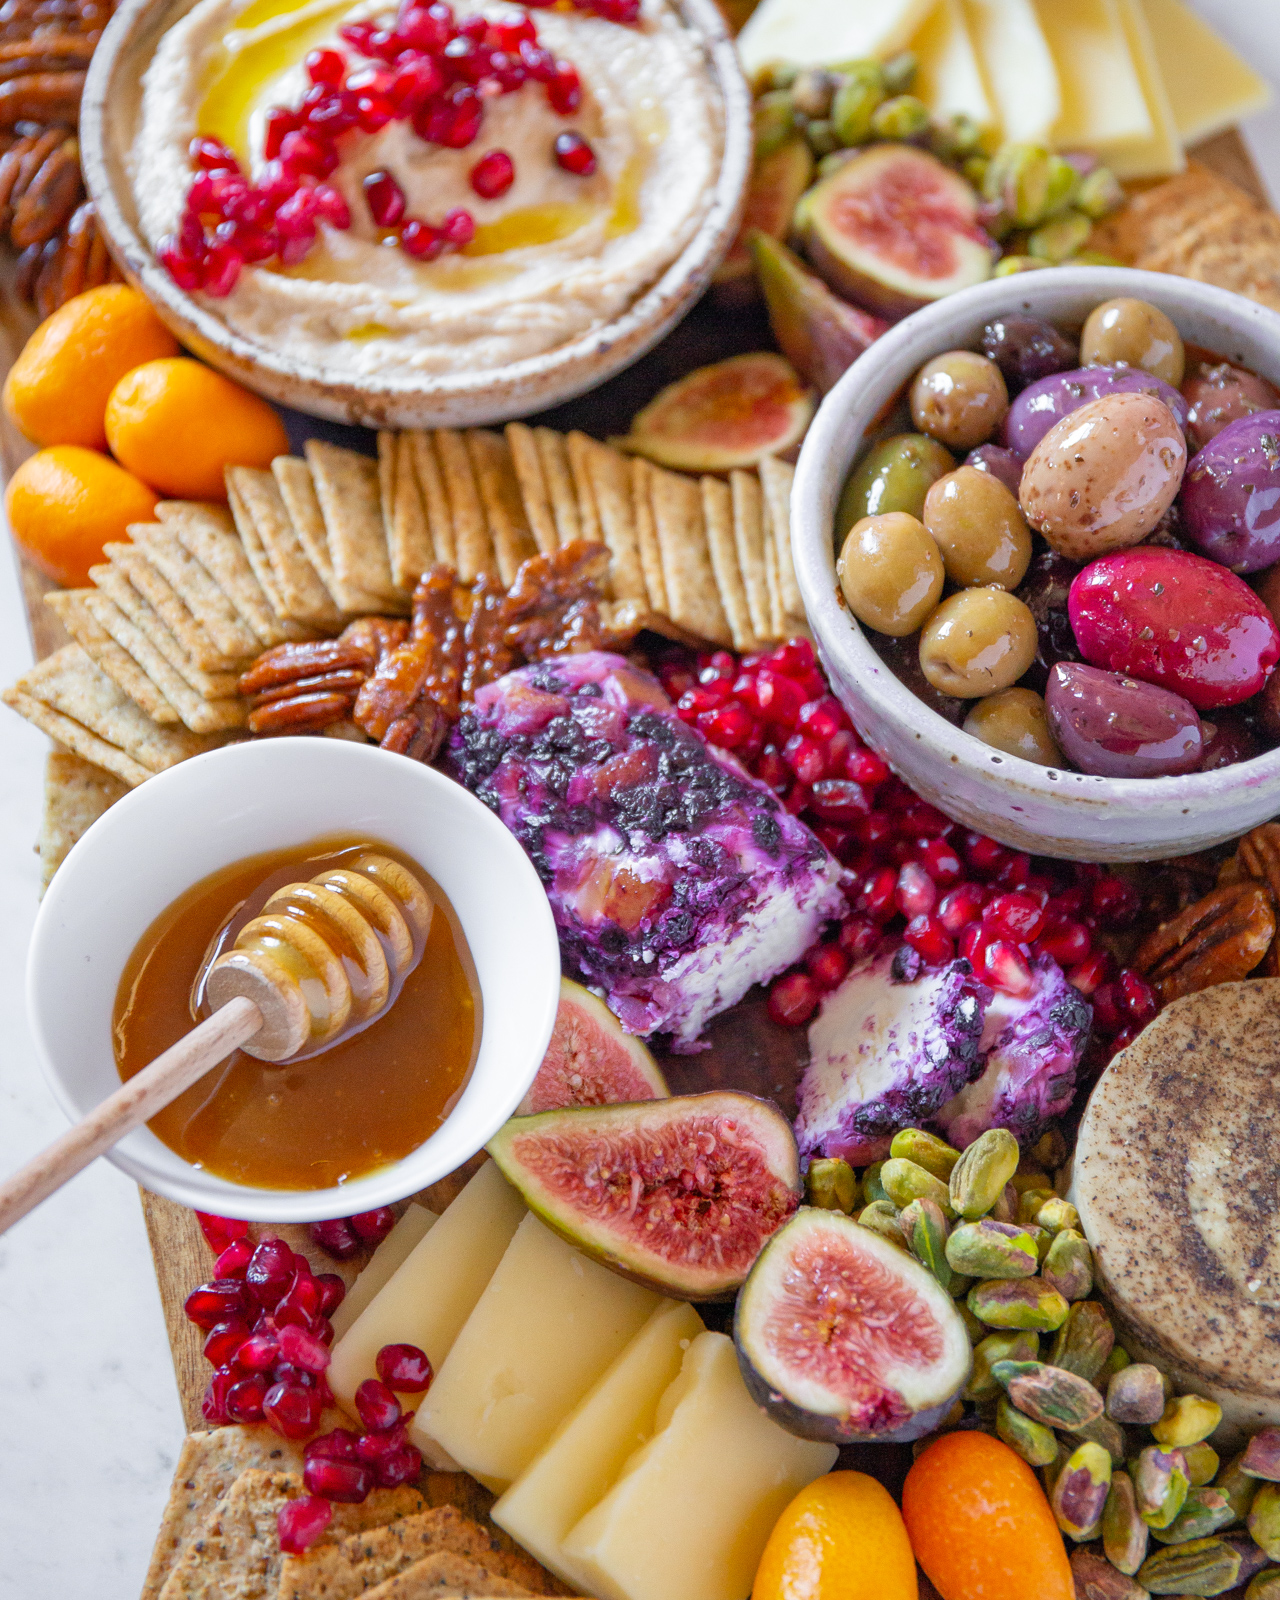
Pick your crackers
While some people might start with the namesake of a cheese board, the crackers have always been my favorite part. A good cracker not only provides a sturdy base for your toppings, but it provides new flavor opportunities and some much needed salt and texture. Using a healthier cracker is one of the best ways to make your cheese board healthier, since traditional crackers made from refined flours can wreak havoc on blood sugar. The only healthy crackers I’ve found that actually past my taste and ingredient standards are the ones from Simple Mills. They have two types—an almond flour small square shape and a hexagon one made from sprouted seeds (both have 3 grams of protein per serving, plenty of healthy fat, and Simple Mills’ signature super-short, recognizable ingredient list).
I like to pick one or two of both types so the shapes are varied, which makes for a dynamic, more aesthetically-pleasing end result. The Black Pepper almond flour crackers are a teensy bit spicy, and the Rosemary & Sea Salt variety is pleasingly herbed (they both work gorgeously with a pastured cheddar). For the sprouted seed ones, my favorites are the Jalapeno ones, which have a fun kick, and the Garlic and Herb, which are super savory. You can use the code “healthiertogether20” to get 20% off anything you order on SimpleMills.com.
Choose your cheese
The type of cheese is clearly a critical part of a cheese board. I like to do a plant-based option and a dairy option to ensure something for everyone. For the dairy-based option, make sure you go for one labeled “grass-fed” or “pasture-raised” (Organic Valley is a good widely available option). Grass-fed cheese actually has a number of health benefits—it contains Vitamins A, D, and K2, all fat-soluble vitamins that help with hormones, heart, and brain-health. It also contains conjugated linoleic acid (CLA), a healthy fat that’s anti-carcinogenic. Even people who don’t tolerate dairy can often tolerate hard cheeses like Parmesan, Swiss and cheddar, because they contain little to no lactose. Goat’s cheese can often also be easier to digest and offers a tangier flavor and creamier texture.
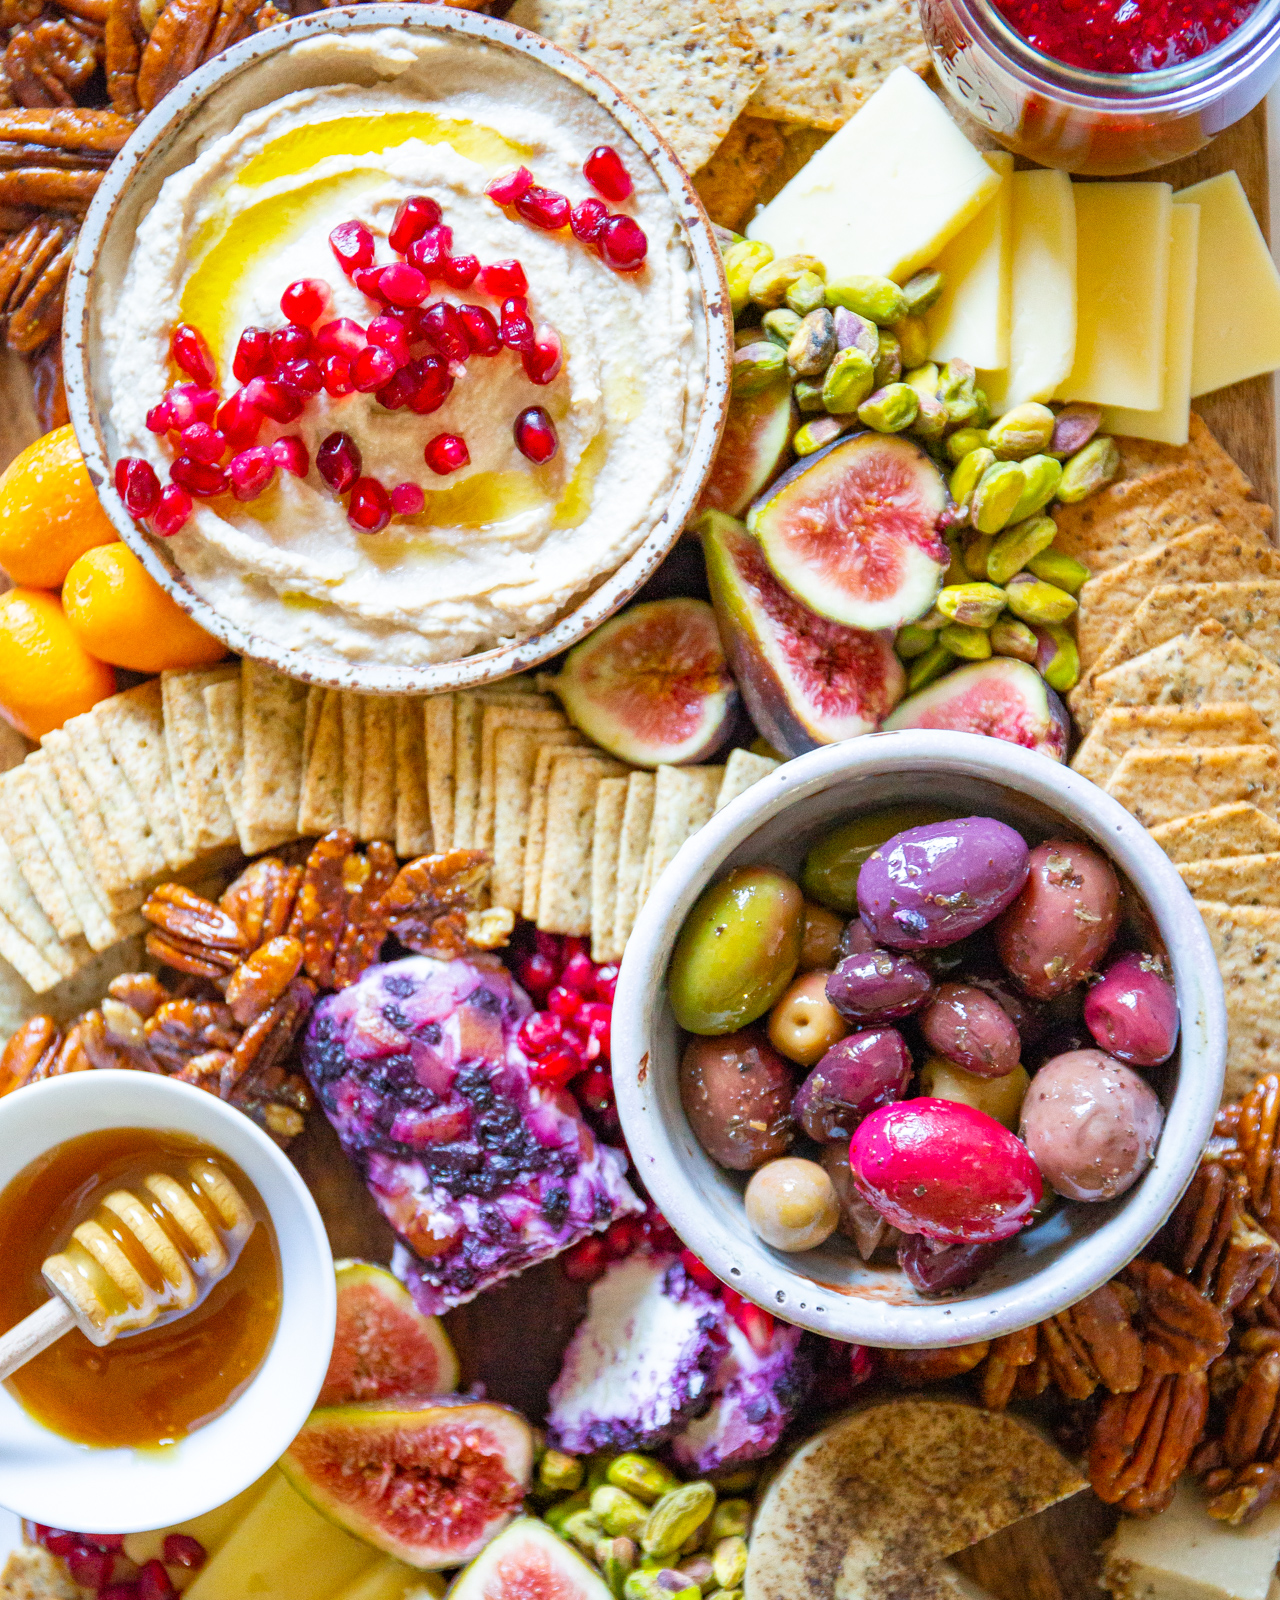
The dairy-free cheese market has exploded in recent years—I love the Treeline, which makes artisanal, French-style fermented cheeses from nuts. While there are recipes to make your own dairy-free cheese, I personally find that it’s too time-consuming and annoying to do, and the results are good enough to be worth. You also often need to buy quite a few nuts to make dairy-free cheese, which can be expensive, and buying it is a better deal.
I usually get one cheddar, one goat’s cheese, and one dairy-free option.
Add some dips & spreads
I love using hummus in cheese boards—it’s a great way to take the dish from appetizer to meal-worthy, with enough protein to actually keep you full throughout the night. You can make your own hummus—I love this sweet pea and mint version for spring and summer, and this butternut squash one for fall and winter—but store-bought also works in a pinch. Just look for a brand that uses organic ingredients, extra-virgin olive oil, and no added sugar.
I like California-based Majestic Hummus, which sprouts their chickpeas for even better digestibility, and Hope Hummus, which is more widely available and uses high-quality organic ingredients. Whether you use homemade or store-bought hummus, swirl the top with a back of a spoon and garnish it with a drizzle of olive oil and fresh herbs, pomegranate seeds, or dried red pepper flakes.
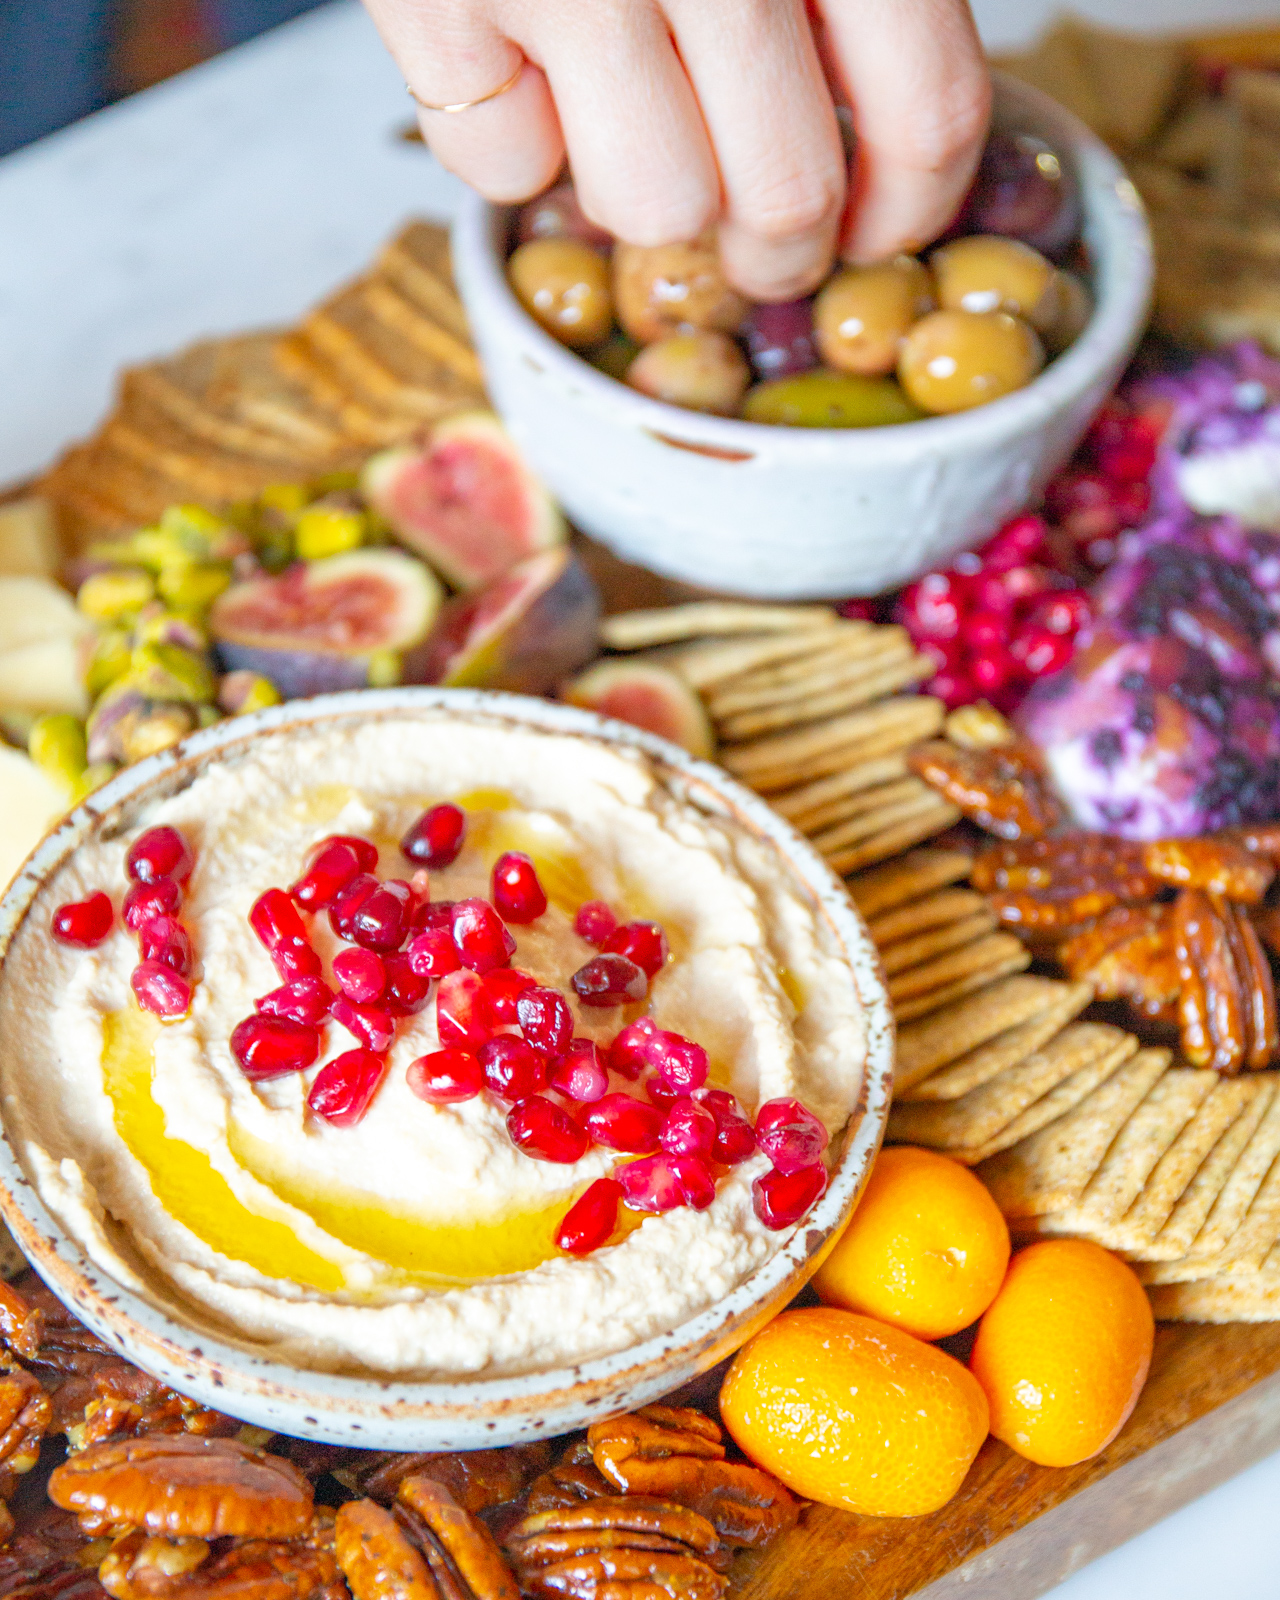
I also like to include a small bowl of honey and at least one sweeter spread, like a jam.
How to make your own quick & easy chia jam
You can follow a recipe to make chia jam (and I have one, if you’d like!) but honestly, I rarely do. I just chuck frozen berries (any frozen berries will work!) into a small pot, add some fine grain sea salt and a dash of vanilla, and let them cook on low until they’re jammy, about 15 minutes. Remove from heat and stir in a bit of lemon juice, then mix in a generous amount of chia seeds. Over the next 15 minutes, the chia seeds will thicken the fruit mixture until it’s jammy. Store in the fridge for up to a week.
Mix in some fun noshes
The rest of your cheese board space should be filled with fun finger foods. I love seasonal fruit (berries, figs, clementines, kumquats, pomegranate seeds, sliced apples or pears). Olives (which are technically a fruit!) are also a great, briny addition with a ton of Vitamin E and other heart-healthy antioxidants)—just make sure to include a tiny bowl for guests to discard pits. Before people come, eat one olive and discard the pit in the bonus bowl so people know what it’s for.
I also love to include some fermented food—it adds a ton of gut-healing, microbiome-nourishing benefits, and a funky, sour flavor that balances the rest of the notes on the board. I love picking a vegetable with a bit of sweetness, like fermented carrots or beets—they also add a pretty color!
Nuts are also a great addition—you can include them raw or toasted, or make my favorite super quick candied variety.
How to make quick, healthy candied nuts
I’ll give you fair warning—this recipe is dangerous. It makes it so you can have crunchy, sweet, candied nuts without any refined sugar in 5 minutes flat, which gives you pretty much no excuse not to make them. Just take raw nuts (any type will do) and toast them on medium-high in a large skillet until they turn golden, about 5 minutes. Add a super generous sprinkle of fine-grain sea salt and enough maple syrup to generously coat the nuts, continuing to cook on medium-high until the maple syrup turns super sticky, and small threads form. Remove from heat and spread the nuts out in a single layer on parchment paper—you want them to not be touching each other, or they’ll dry clumped together. As they cool, they’ll become less sticky, until you can put them in a bowl and serve them.
You can also add in fun seasonings when you add the maple syrup. I love doing pecans with black pepper and finely chopped rosemary, walnuts with cardamom, and peanuts with a pinch of ground cayenne.
How to assemble your cheeseboard
Start with your biggest items, which typically includes anything in a bowl or vessel, like your olives, hummus, honey, and jam. Distribute these evenly over your board. Then, I like to add my cheese. I like to slice some of the cheeses, and leave softer cheese organically broken into, but still in whole form.
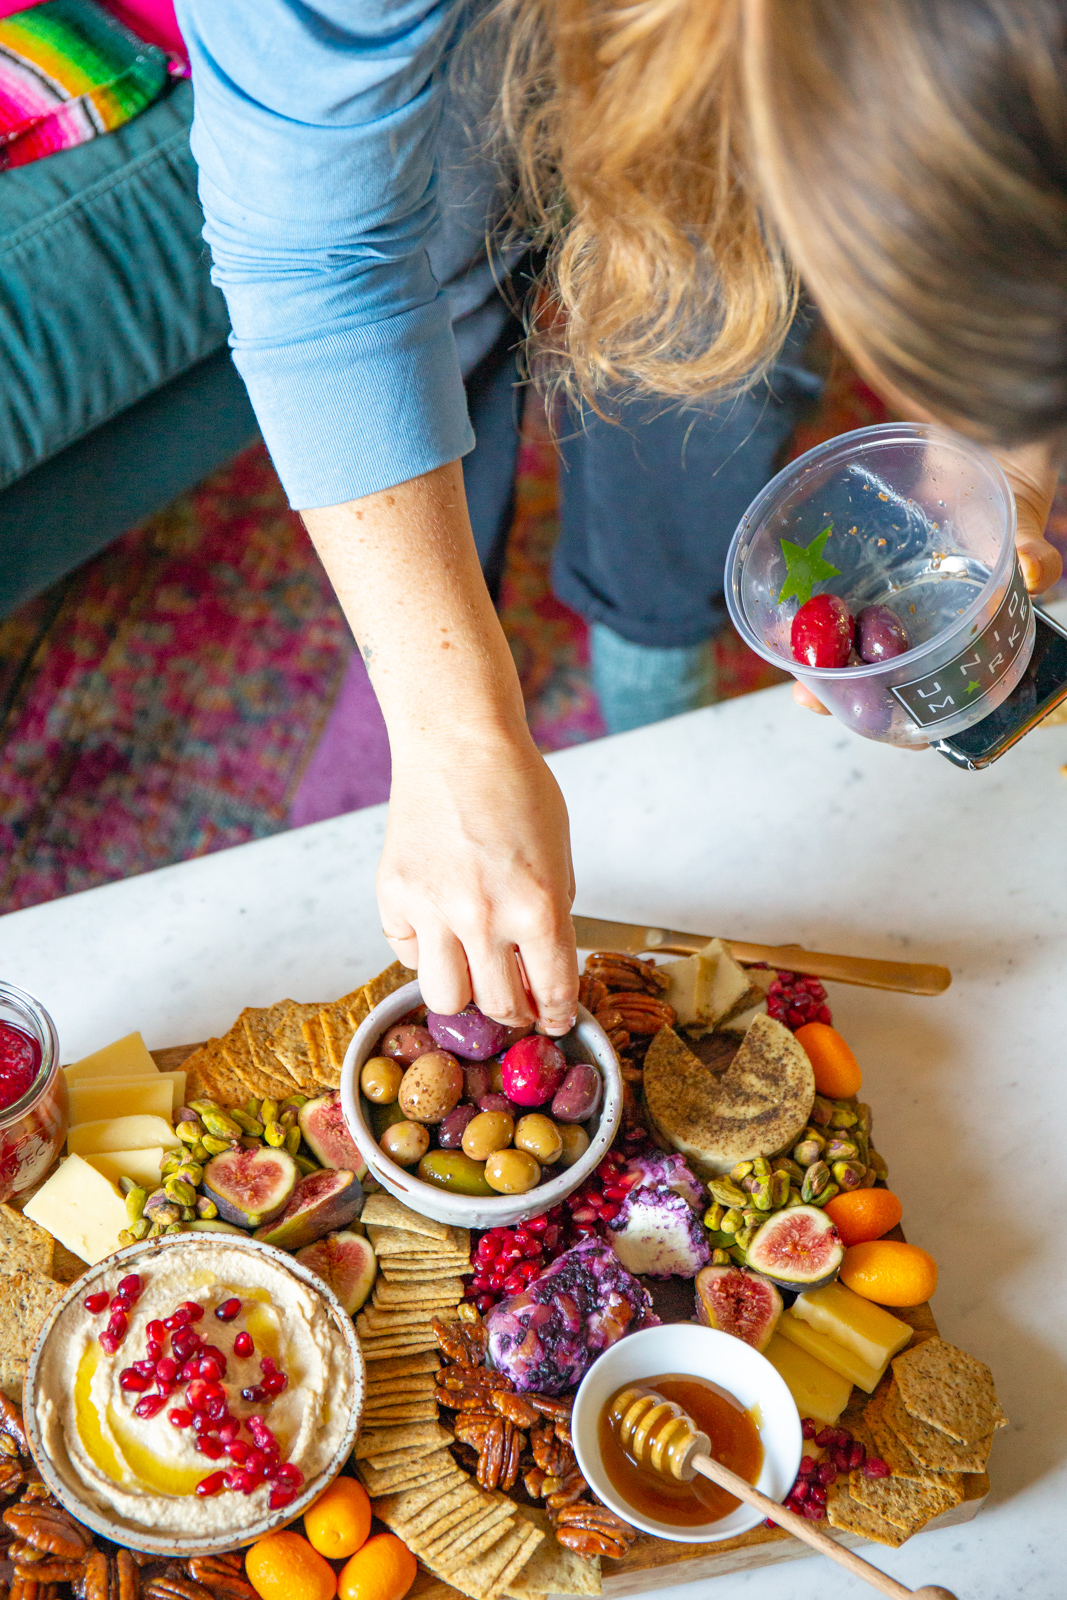
Now, do your crackers. A few different groupings around the board, fanned out or pressed so tightly together the side edges almost face up looks nice. Fill in the remaining gaps on the board with the noshes—the nuts and fruit (I like to leave these loose, rather than sticking them in bowls).
Now, here’s my biggest secret when it comes to making a gorgeous cheese board: keep adding stuff on, even when you think you’re done.
Pile the nuts up until they tumble off one another. Slide more cheese and crackers into your lines and fans. A cheese board is meant to evoke a sense of bounty, and having more stuff on the plate than even feels possible is how you get there.
There you have it! All of my tips for making a perfect, healthy cheeseboard, quickly and easily. Definitely tag me in your creations @lizmoody—I can’t wait to see and share!!
Thank you so much to Simple Mills, a brand that I’ve eaten and loved for years, for sponsoring this post. Remember, you can get 20% off your order at SimpleMills.com using the code “healthiertogether20.”
